
Craig’s Kitchen: Hawaiian Jello Cheesecake

Yummy on many levels!
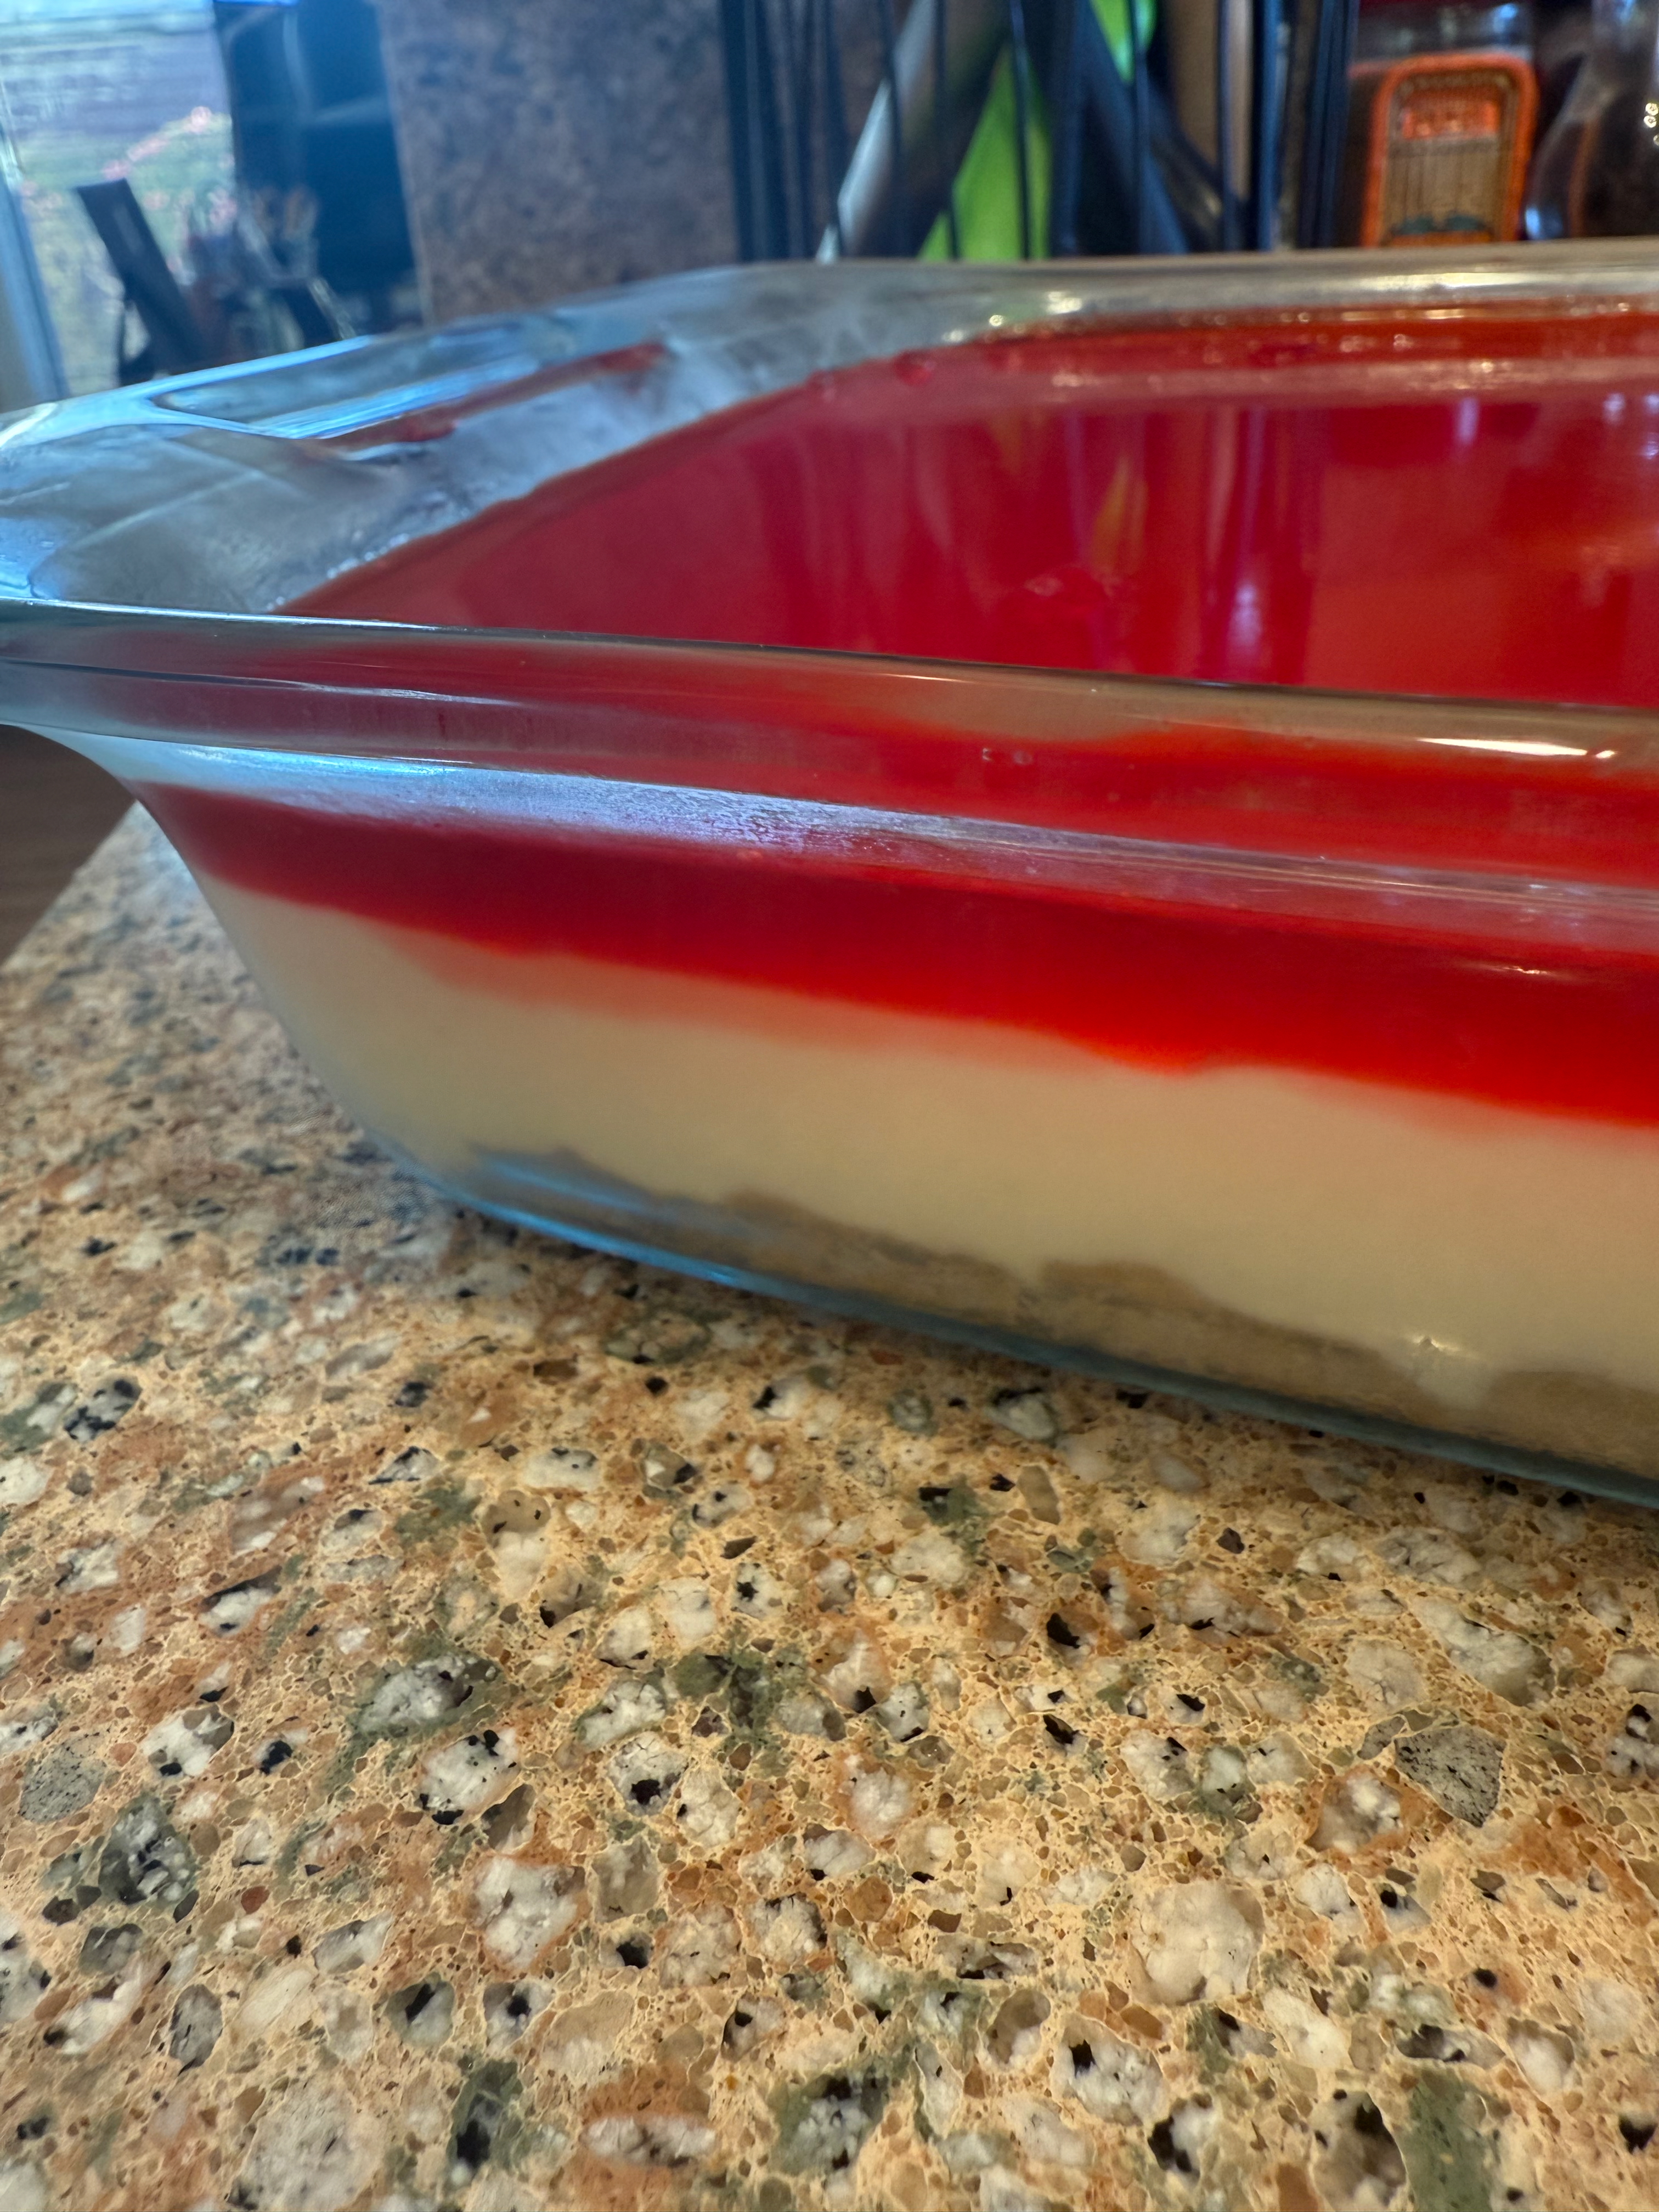
This (sort of) no-bake dessert is easy to make but it’s multiple layers will give it great flavor and texture in every bite. You’ll be as surprised as I was that it’s so simple, but it does take time as each layer needs time to set in its own way. I call it Hawaiian Jello Cheesecake because the first time I had it I was told it was Hawaiian and the only place I’ve had it are in Hawaiian fast food restaurants. Other than that, I have no idea what its connection is to Hawaii (so if anyone has insight, feel free to share).
Ingredients
Crust:
- 12 tbsp butter (1.5 sticks) softened but not melted
- 1/2 cup brown sugar, packed
- 1.5 cups all-purpose flour
- 1 cup chopped walnuts or macadamia nuts
- 2 tbsp melted butter for buttering the pan (use only what you need)
Filling:
- 1 small (3 oz) package lemon Jello
- 1 cup hot water
- 3/4 cup sugar
- 1 8oz. package of cream cheese room temperature
- 2 cups heavy cream (1 pint)
Topping:
- 1 large package of Cherry or Strawberry Jello
- 3 cups of hot water
Directions:
- Preheat oven to 375 degrees
- Coat 9×13 inch pan with melted butter
- Cream together softened butter and brown sugar
- Add flour and nuts; mix together
- Press dough with your hands into your 9×13 inch pan making sure it is evenly spread
- Bake for 10 minutes or until crust is brown; let crust cool
- Dissolve Lemon Jello with 1 cup hot water and mix thoroughly and let cool
- Cream together sugar and softened cream cheese
- Create whipped cream from heavy cream and fold into sugar and cream cheese
- Add Lemon Jello into mixture and fold until well mixed
- Once crust is no longer hot, pour filling on top and place in refrigerator until solid
- Create Jello topping pouring 3 cups hot water onto Cherry / Strawberry Jello; let cool
- Once filling is solid and Cherry Jello is cool, pour Jello on top and refrigerate until solid
- Cut and serve
Director’s Cut
Buttering the pan – Make sure you butter the bottom well. The sides only need to be buttered about a half inch or so since it only needs to help release the crust. It will make it easier to lift out of the pan.
Chopping nuts – You want the nuts big enough so that you get that texture and crunch when you bite into it but now so big that it’s a big surprise on your teeth. I used chopped walnuts pre-packaged and even then broke it up into smaller bits.
Cooling the crust – One trick my wife taught me was to put the crust in the refrigerator to quicken the cooling process. While the crust is cooling don’t be tempted to cool the filling mixture because it needs to set in the shape of the pan.
Whipped cream dispenser – I know not everyone has one of these but it does speed up the process of creating whipped cream (and saves your wrist, arm, and elbow). It worked so well and so quickly. Of course you can always do it the old fashioned way.
I found the original recipe for this online from a very old blog. The author, Cathy, hasn’t written anything since 2011 but the picture she took looked the most like what I was searching for. I was inspired to try it after having it at The Loft in Cypress – one of my favorite Hawaiian plate lunch places. I’ve also had it at different potlucks at churches with Hawaiian roots. Although I found many similar recipes this was still the closest to what I remembered. Thankfully, it was easier to make than I anticipated. I made it for our “Fruit of the Spirit” Bible Study class and it seemed well received so I took the original recipe and clarified some of the steps and hopefully made it easier to make. It does take time in-between steps but not that much actually. And it’s worth the wait.
