
Craig’s Kitchen: Fried WonTons

A New Year’s family favorite.
Seems weird to have fried wontons be a New Year’s family favorite in a family of Japanese heritage, but it’s been a staple in our home since I was a little kid. You know how at family get-togethers you have that dish your family seems to be known for? That was this dish for us. I don’t remember exactly when my mom started making it, but we made it every New Year’s Day and we still do. All of us have lent a hand at one time or another in the wonton production line. The more hands the merrier!
It can be quite labor intensive. The process of putting together each pocket of pillowy goodness is one that simply takes time. But oh, is it worth it! When you bite into that first one and hear the crunch of the wonton skin and then it pours into your mouth that nugget of juicy goodness from the middle – yum! The savory pork filling dripping down your throat, the crunch of the water chestnut tantalizing the feel of your mouth, and the rich umami from the blend of flavors in the middle is enough to make you grab for another.
Equipment: You must have a wonton press! I know you can probably do it all by hand, but it would take even longer and unless you are someone used to making dumplings, would also be so labor intensive to get it right you’d never do it again. The press helps in creating a uniform seal without bunching up the wonton skin (a bunched up skin means you could have a lot of dough – some of it not quite fried – and it could pop in the oil when frying). You can get it online from places like Amazon or at your local Asian market. They come in all sorts of styles, but the best one for me is the one with straight handles. Makes it easier to grip closed.
Ingredients
- 1 lb ground pork
- 1 pkg wonton skins/wrappers (50 count)
- 1 can sliced water chestnuts
- 1 bunch green onions
- 3 tbs ponzu (lemon soy sauce) or to taste
- 1 egg white per person making wontons or 2-3 overall needed to press 100 wontons
- 4-5 thin slices of ginger (for flavor)
Directions:
- Peel the ginger and cut off just 4-5 razor thin slices (if you like the taste, you’re welcome to add more, but our family likes it with just a subtle hint of the ginger)
- Cut green onions into small pieces about 1/8″ to 1/4″ wide depending on how you like it. Set aside
- Cut sliced water chestnuts into small cubes about the same size and set aside
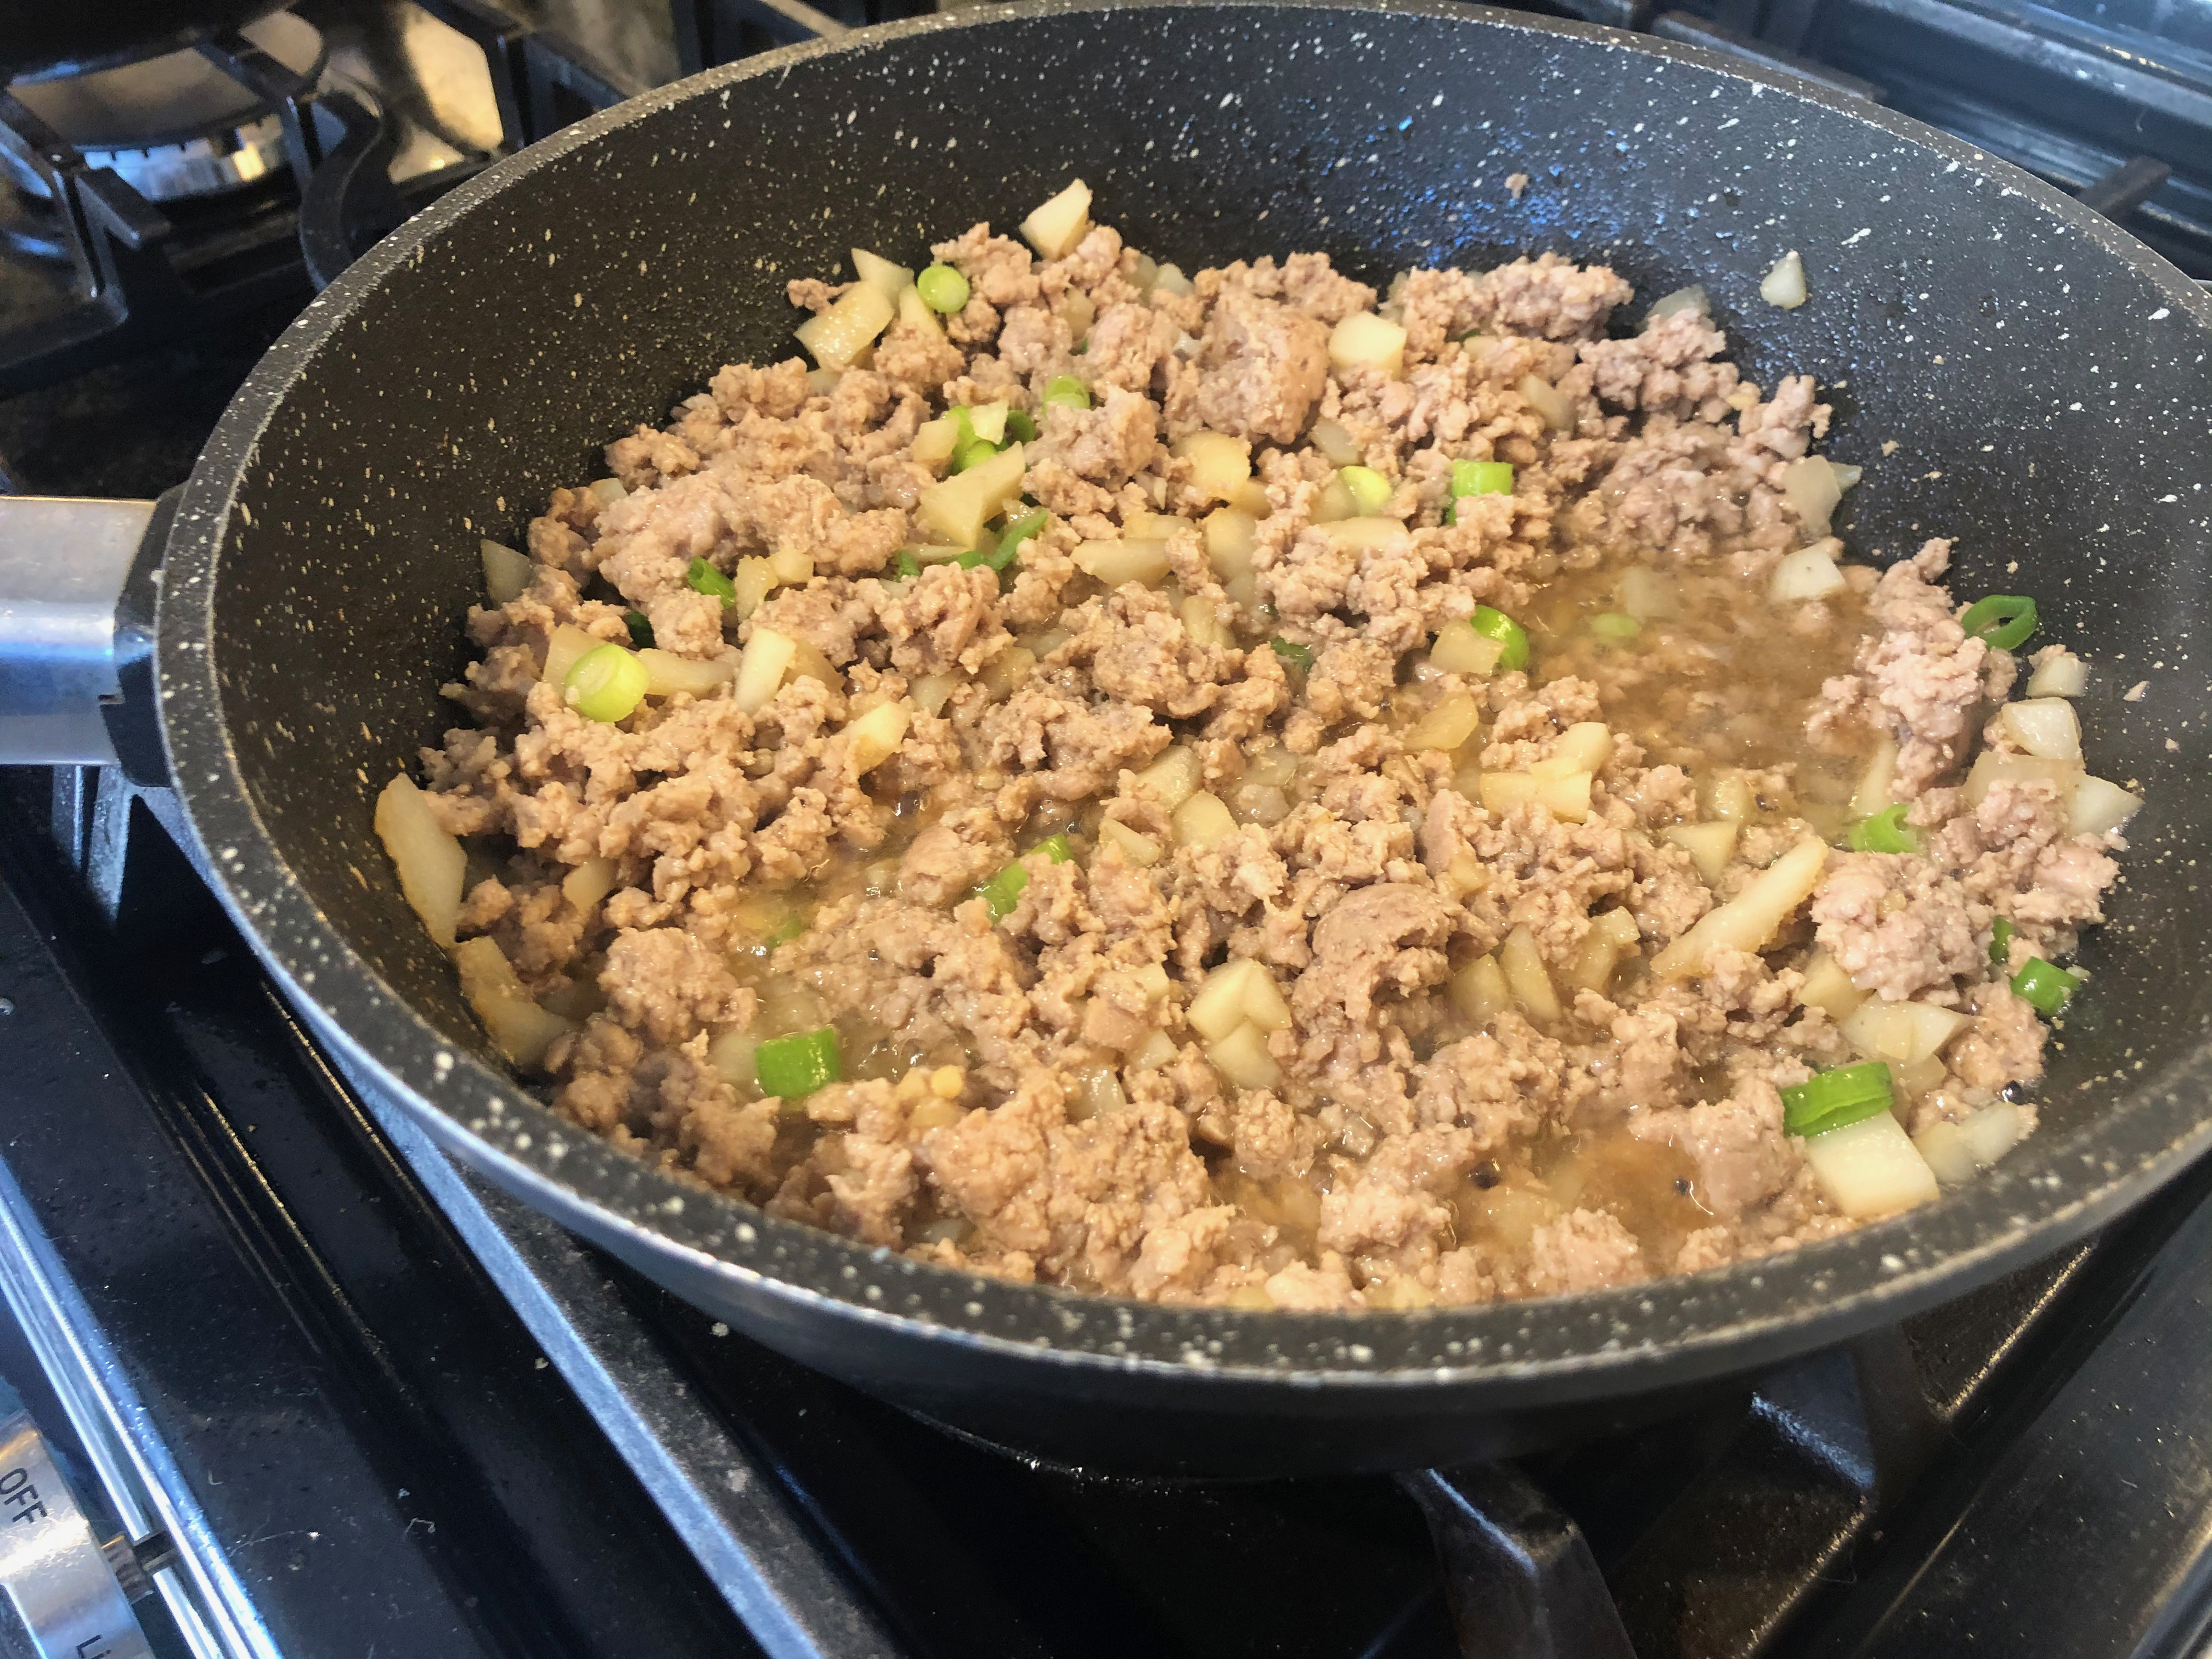
- Cook ground pork in a 12″ skillet, breaking apart so the pork is crumbly, adding ponzu which will help give it more of a brown color and a slight umami, tangy taste. If you like it more tangy, add to your taste palette. Add the thin slices of ginger for flavor
- Once pork is nearly cooked, add water chestnuts and green onions to the mixture, add more ponzu if desired (this is where I usually do a taste test to see if my ponzu is at the right level)
- Once finished cooking (usually just 3-5 more minutes at this stage), turn off heat and let cool
- Prep your wonton station! Put one egg white in a bowl and mix with just a bit of water to add volume without taking away too much stickiness. We like to use brushes to spread the egg white on the wonton skins, but you can always use your fingers (wash your hands!). Pull out a jelly roll cookie sheet and place wax paper or parchment paper at the bottom. As we line up the wontons, we’ll stack them with additional pieces of wax or parchment paper
- Set your skillet of wonton filling near you
- Place a wonton skin/wrapper on the wonton press
- Brush the egg wash along just two edges of the wonton skin
- Scoop about 1 tbs of wonton filling into the middle of the press (the key here is not to overstuff the wonton! Overstuffing, while making for a more filling piece, also lends itself to having oil leak in and then causing lots of popping and snapping of the oil when frying)
- Press together FIRMLY, making sure all the areas are sealed
- Repeat steps 9-12 until done, should easily make 50 wonton and could be stretched to about 75. It all depends on how much filling you like to put in each one
- Fry in heated oil until it turns light brown / golden in color.
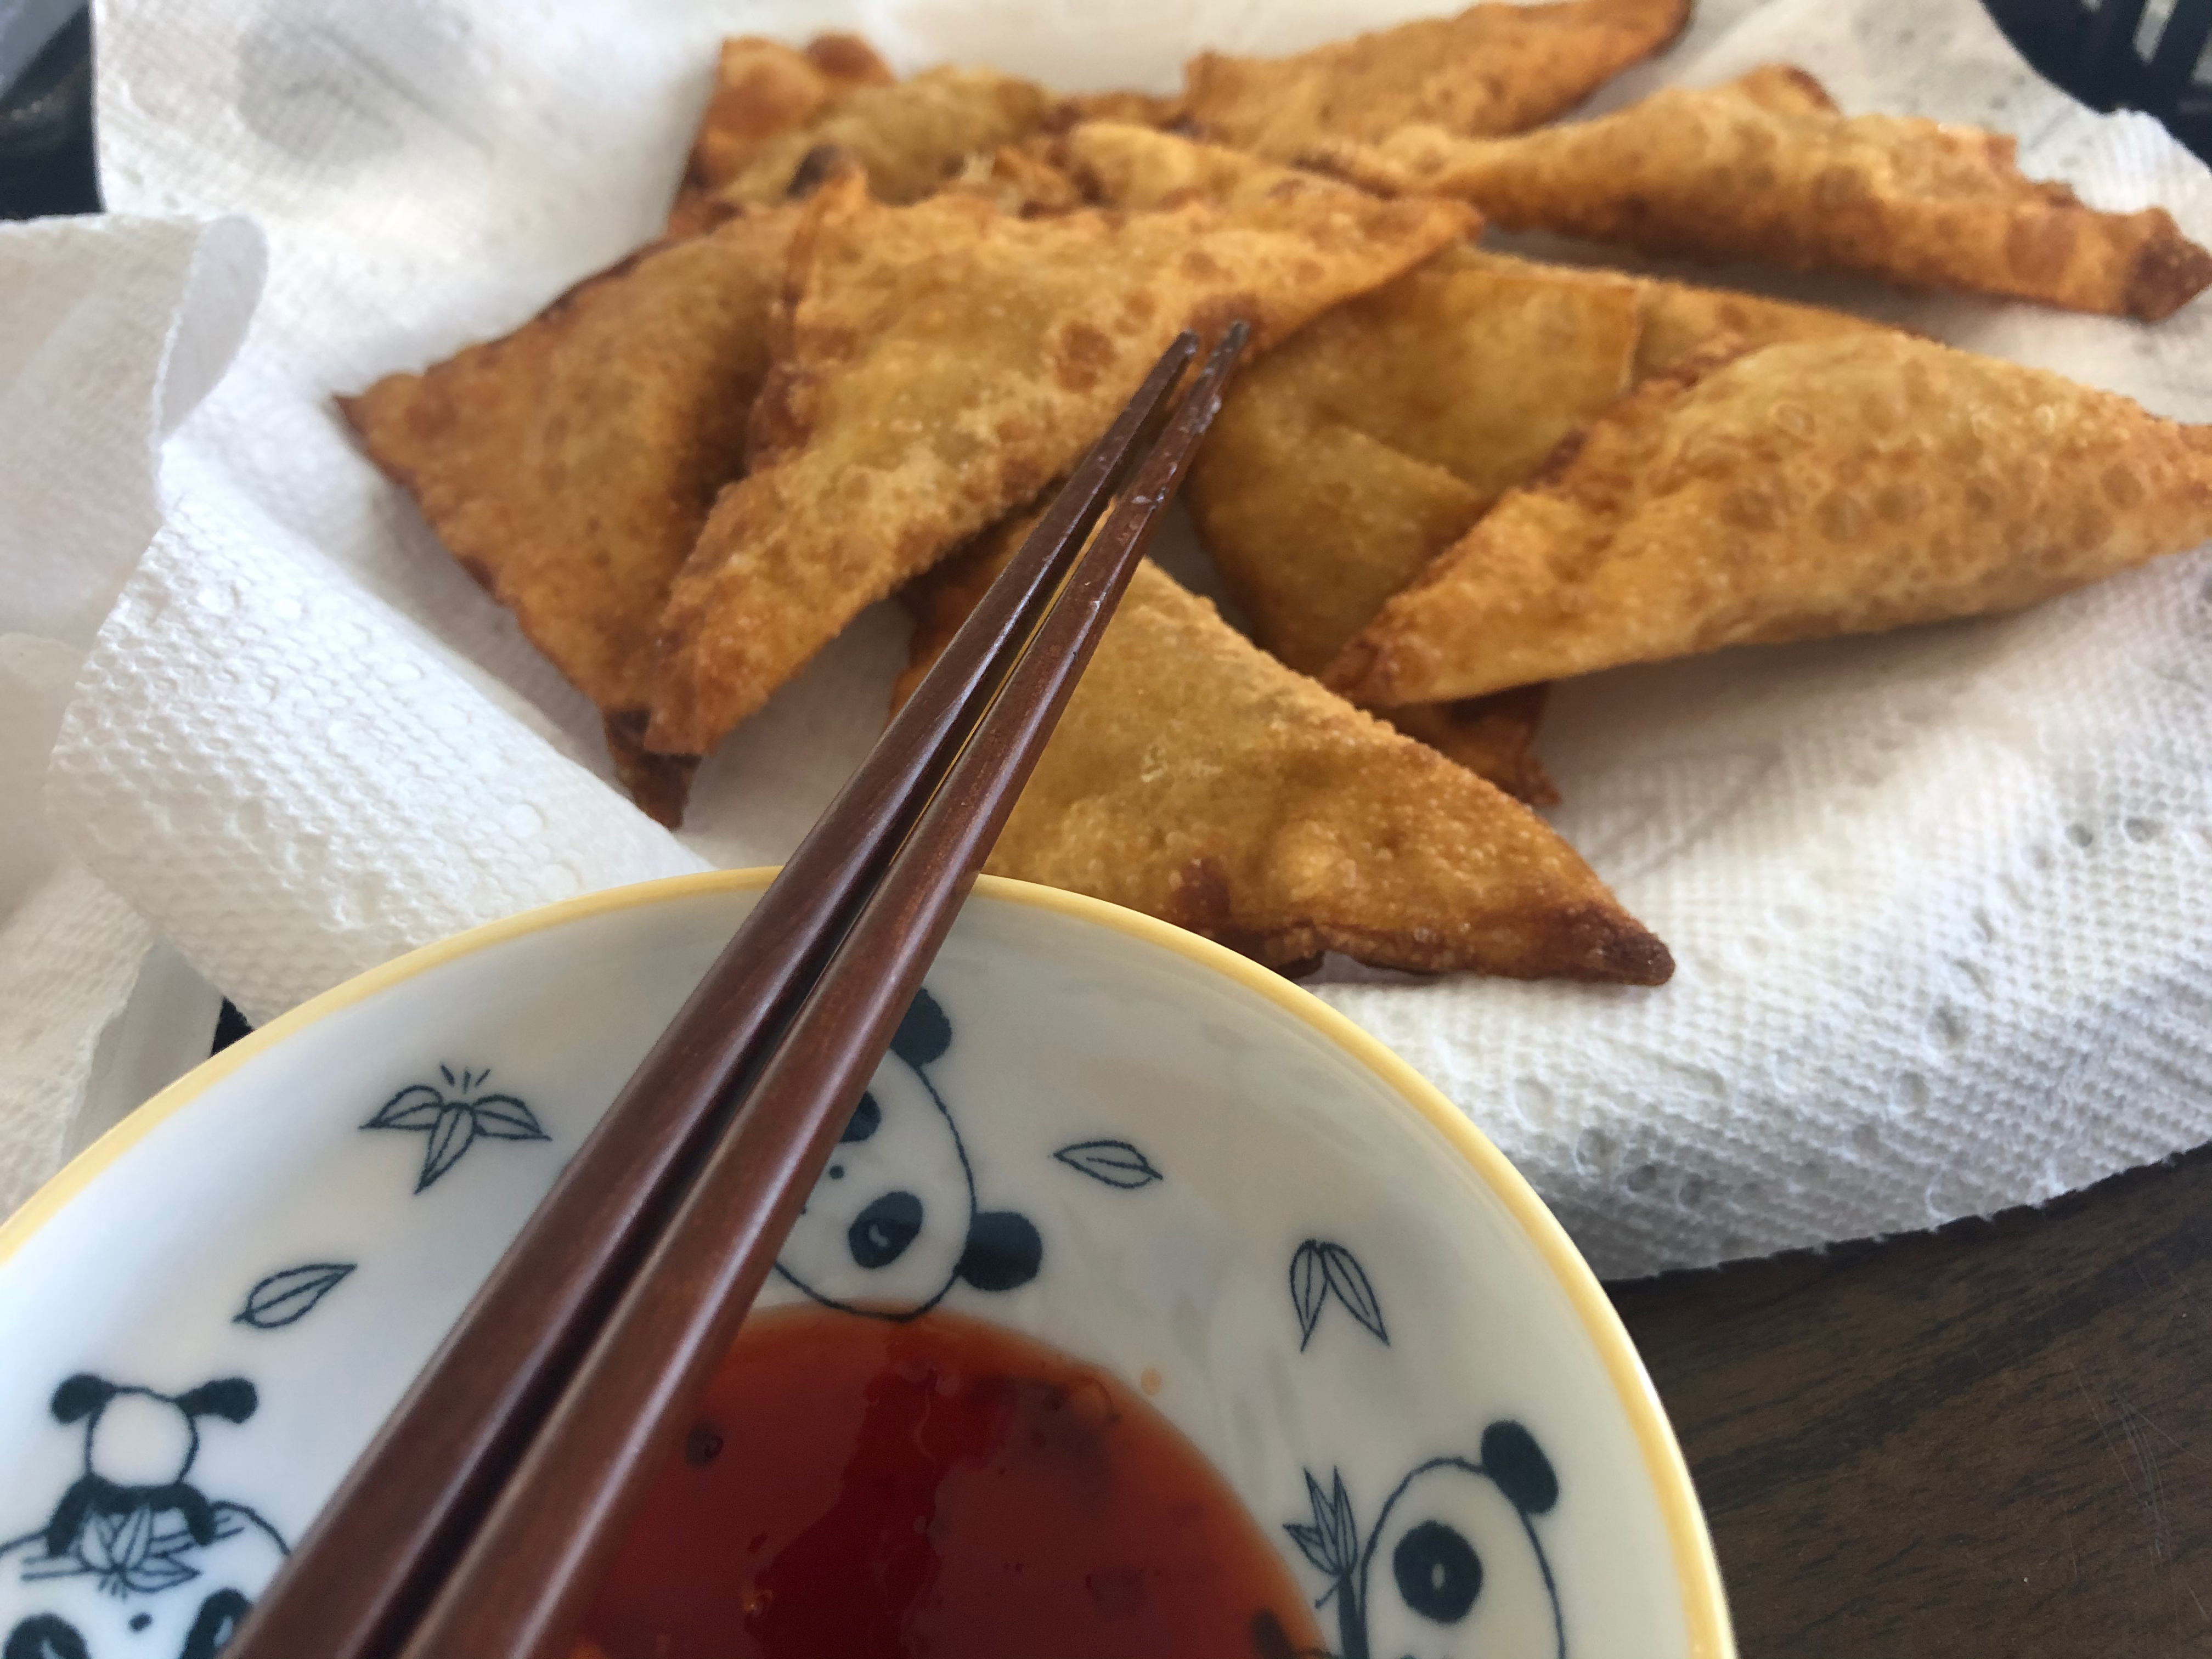
Don’t wait for it to look completely done because the carry over heat will darken the wontons more and could burn it! It might take a little bit of practice but you can do it. Also, be aware that the heat of the oil will continue to rise over the time it takes to cook so the first wontons will likely take longer to fry up than the later ones. Just keep an eye on the temperature of the oil. You don’t want it so hot that it burns it as soon as it gets in the oil. I usually cook five at a time and by the time I put in the fifth one, I start to flip the first one until all five are flipped and then can usually remove them. The first few batches, like I said, will take a little longer but you can just keep flipping them until they are done to your liking.
I love to eat these plain, but they taste great with some sweet and sour sauce. Our family favorite is La Choy Sweet and Sour. It has a great blend of sweetness with the thickness a sauce like this should have. Kikkoman Sweet and Sour Dipping Sauce is also good for the same reasons. I would say La Choy is a bit sweeter so it just depends what you enjoy, but either way, it should have that thicker consistency both of these have. No matter which one you use or if you don’t use any, I’m sure you’ll love to eat these pillow pockets of goodness.
